Studying Longfellow: A Poetry Study Tutorial
We tend to choose a poet to study for a term (or a season, or a few weeks or month – whatever fits your routine). During that time I basically repeat this same general format, substituting a new poem for each session together. Generally – this style of poetry study would be done a few times each month – weekly or bi-weekly.
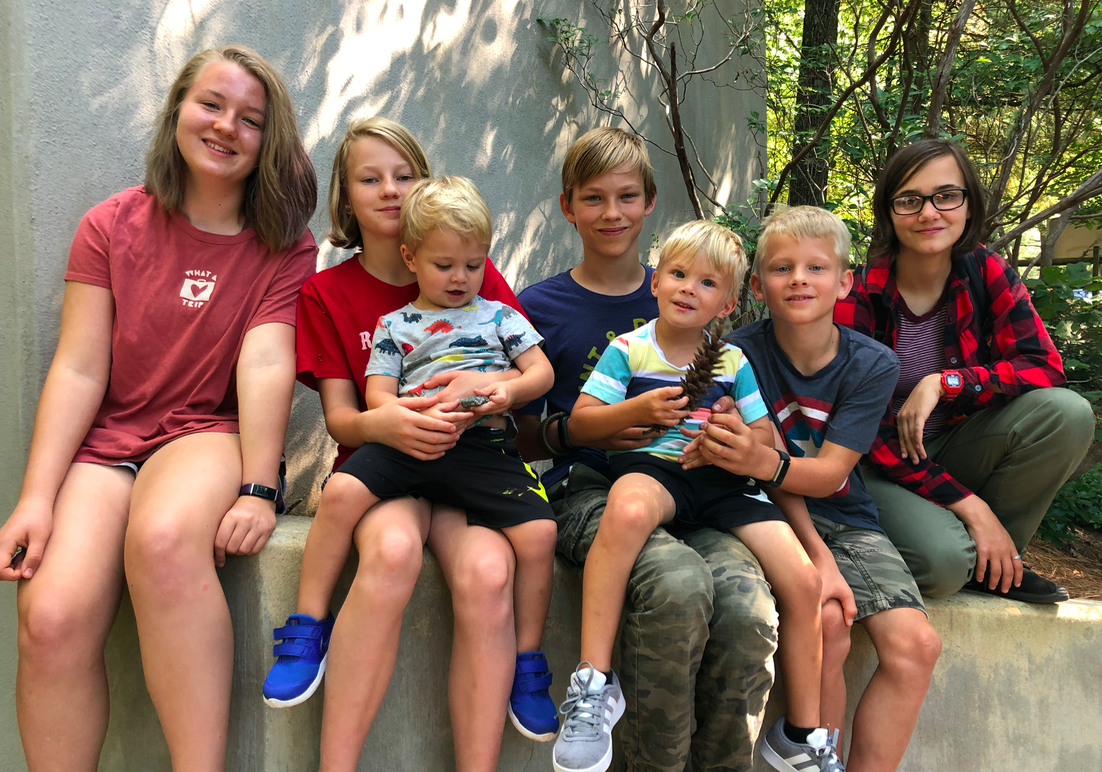
I do this routine with my own kids individually, but it also the format I use to teach a small co-op of sorts that Jo and I do together weekly.
Step One: Choose your poet. I chose Henry Wadsworth Longfellow
Step Two: Gather your biographical information. (I used the Simply Charlotte Mason guide. You can use the library for great books for younger learners. Or gather your own biographical facts online.) I think the Simply CM material works well because it is written in a narrative form as opposed to a dry list of facts about the poet. If you are forced to gather facts on your own, study them for a bit yourself so you can tell the facts in a story-like way to your students.

Step Three: Choose your poem. Think about your audience, what would appeal to them most. Most well known poets have a great deal of variety in their topic matter. It helps if it is something your children might find interesting or relatable. Read over the poem out loud to yourself several times so you can practice the rhythm and the hard to pronounce words. Reads the poem in a normal way – reading from punctuation to punctuation, not from a stanza’s starts and beginnings. It can take practice if you’ve never done this, but your poem should not be delivered in a sing-song voice, even when the rhyme pattern falls in a way that makes the sing song tempting.
Step Four: Gather your audience. The previous steps all occur before you gather the kids around. Now it’s time to gather your tribe and have them all sit down at a large table or seated at desks or on the ground, whatever your space dictates. They should have enough room to spread out and not rub elbows with their siblings or classmates. Kids should have before them art supplies and paper. (I prefer all of our projects to be completed in blank sketchbooks so I can store and preserve them more easily. You might like loose paper or watercolor paper.)
Step Five: Talk about the poet a little. Tell his story. Share a little anecdote. But don’t tell everything. Ideally, you’ll be studying this poet for at least four or five sessions, maybe longer. You want to have tidbits to share at the beginning of each poetry study session.
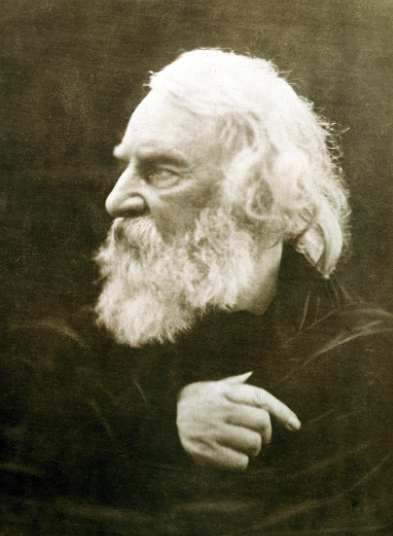
If this is your first time covering the poet, have a clear photograph of the poet available. A drawing or a painting or a picture from the internet. I have the kids copy his portrait onto their pages while I tell them about the poet. For example, they are drawing Longfellow, portrait style, while I tell them about his early childhood growing up in Maine.
After I’ve finished my story telling – or reading a children’s book about the author – I pause. (By the way, children’s books are fabulous even for bigger kids. They deliver a great deal of info in a short amount of time with a compelling storyline to help it stay in the listeners’ minds.)
Step Six: Narrate. I offer prompts …. Tell me about Longfellow’s childhood. How was he like you? Who else grew up in New England? Do you know any painters or other well known people alive during his lifetime? What was happening around the world at the same time Longfellow was writing down poetry?
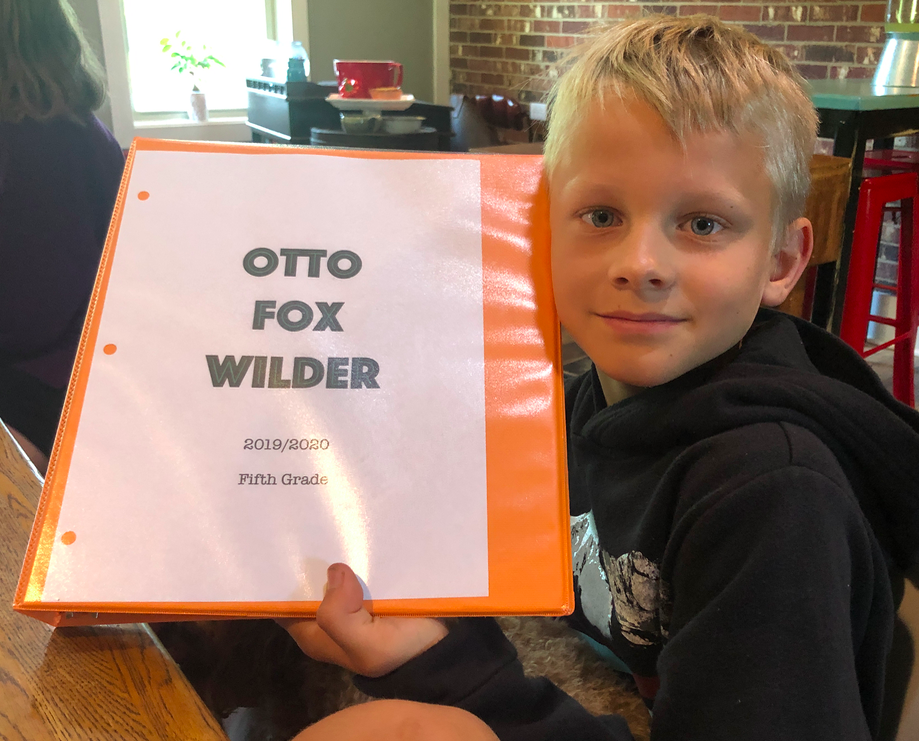
The students are required to write the poet’s birth and death dates below their portrait. Additionally, they write down a bit of narration too. The amount written directly relates to the student’s ability. I might have Otto write several words in the space around Longfellow’s head. London should be able to write many detailed sentences in an obviously more tidy fashion.
If this is any lesson after the first introduction to the poet, I also include a review here. I allow the kids to have their notebooks open to their portrait page so they can use the facts they’ve already written to refresh their memory. (This also encourages them o record more so they can have more to share the next session.)
Step Seven: Introduce and read the poem. I try not to set the poem up too heavily. I might offer an engaging bit – “This poem was written as a gift to his children when they were just about your age” or something like that. For the first reading I ask the kids to put down their pencils and just listen.
After the first reading I pause. Ask their thoughts. Have them retell what happened. Point out any confusing words or older ideas. (Sometimes the poets use phrases or situations foreign to our kids in their current culture.)
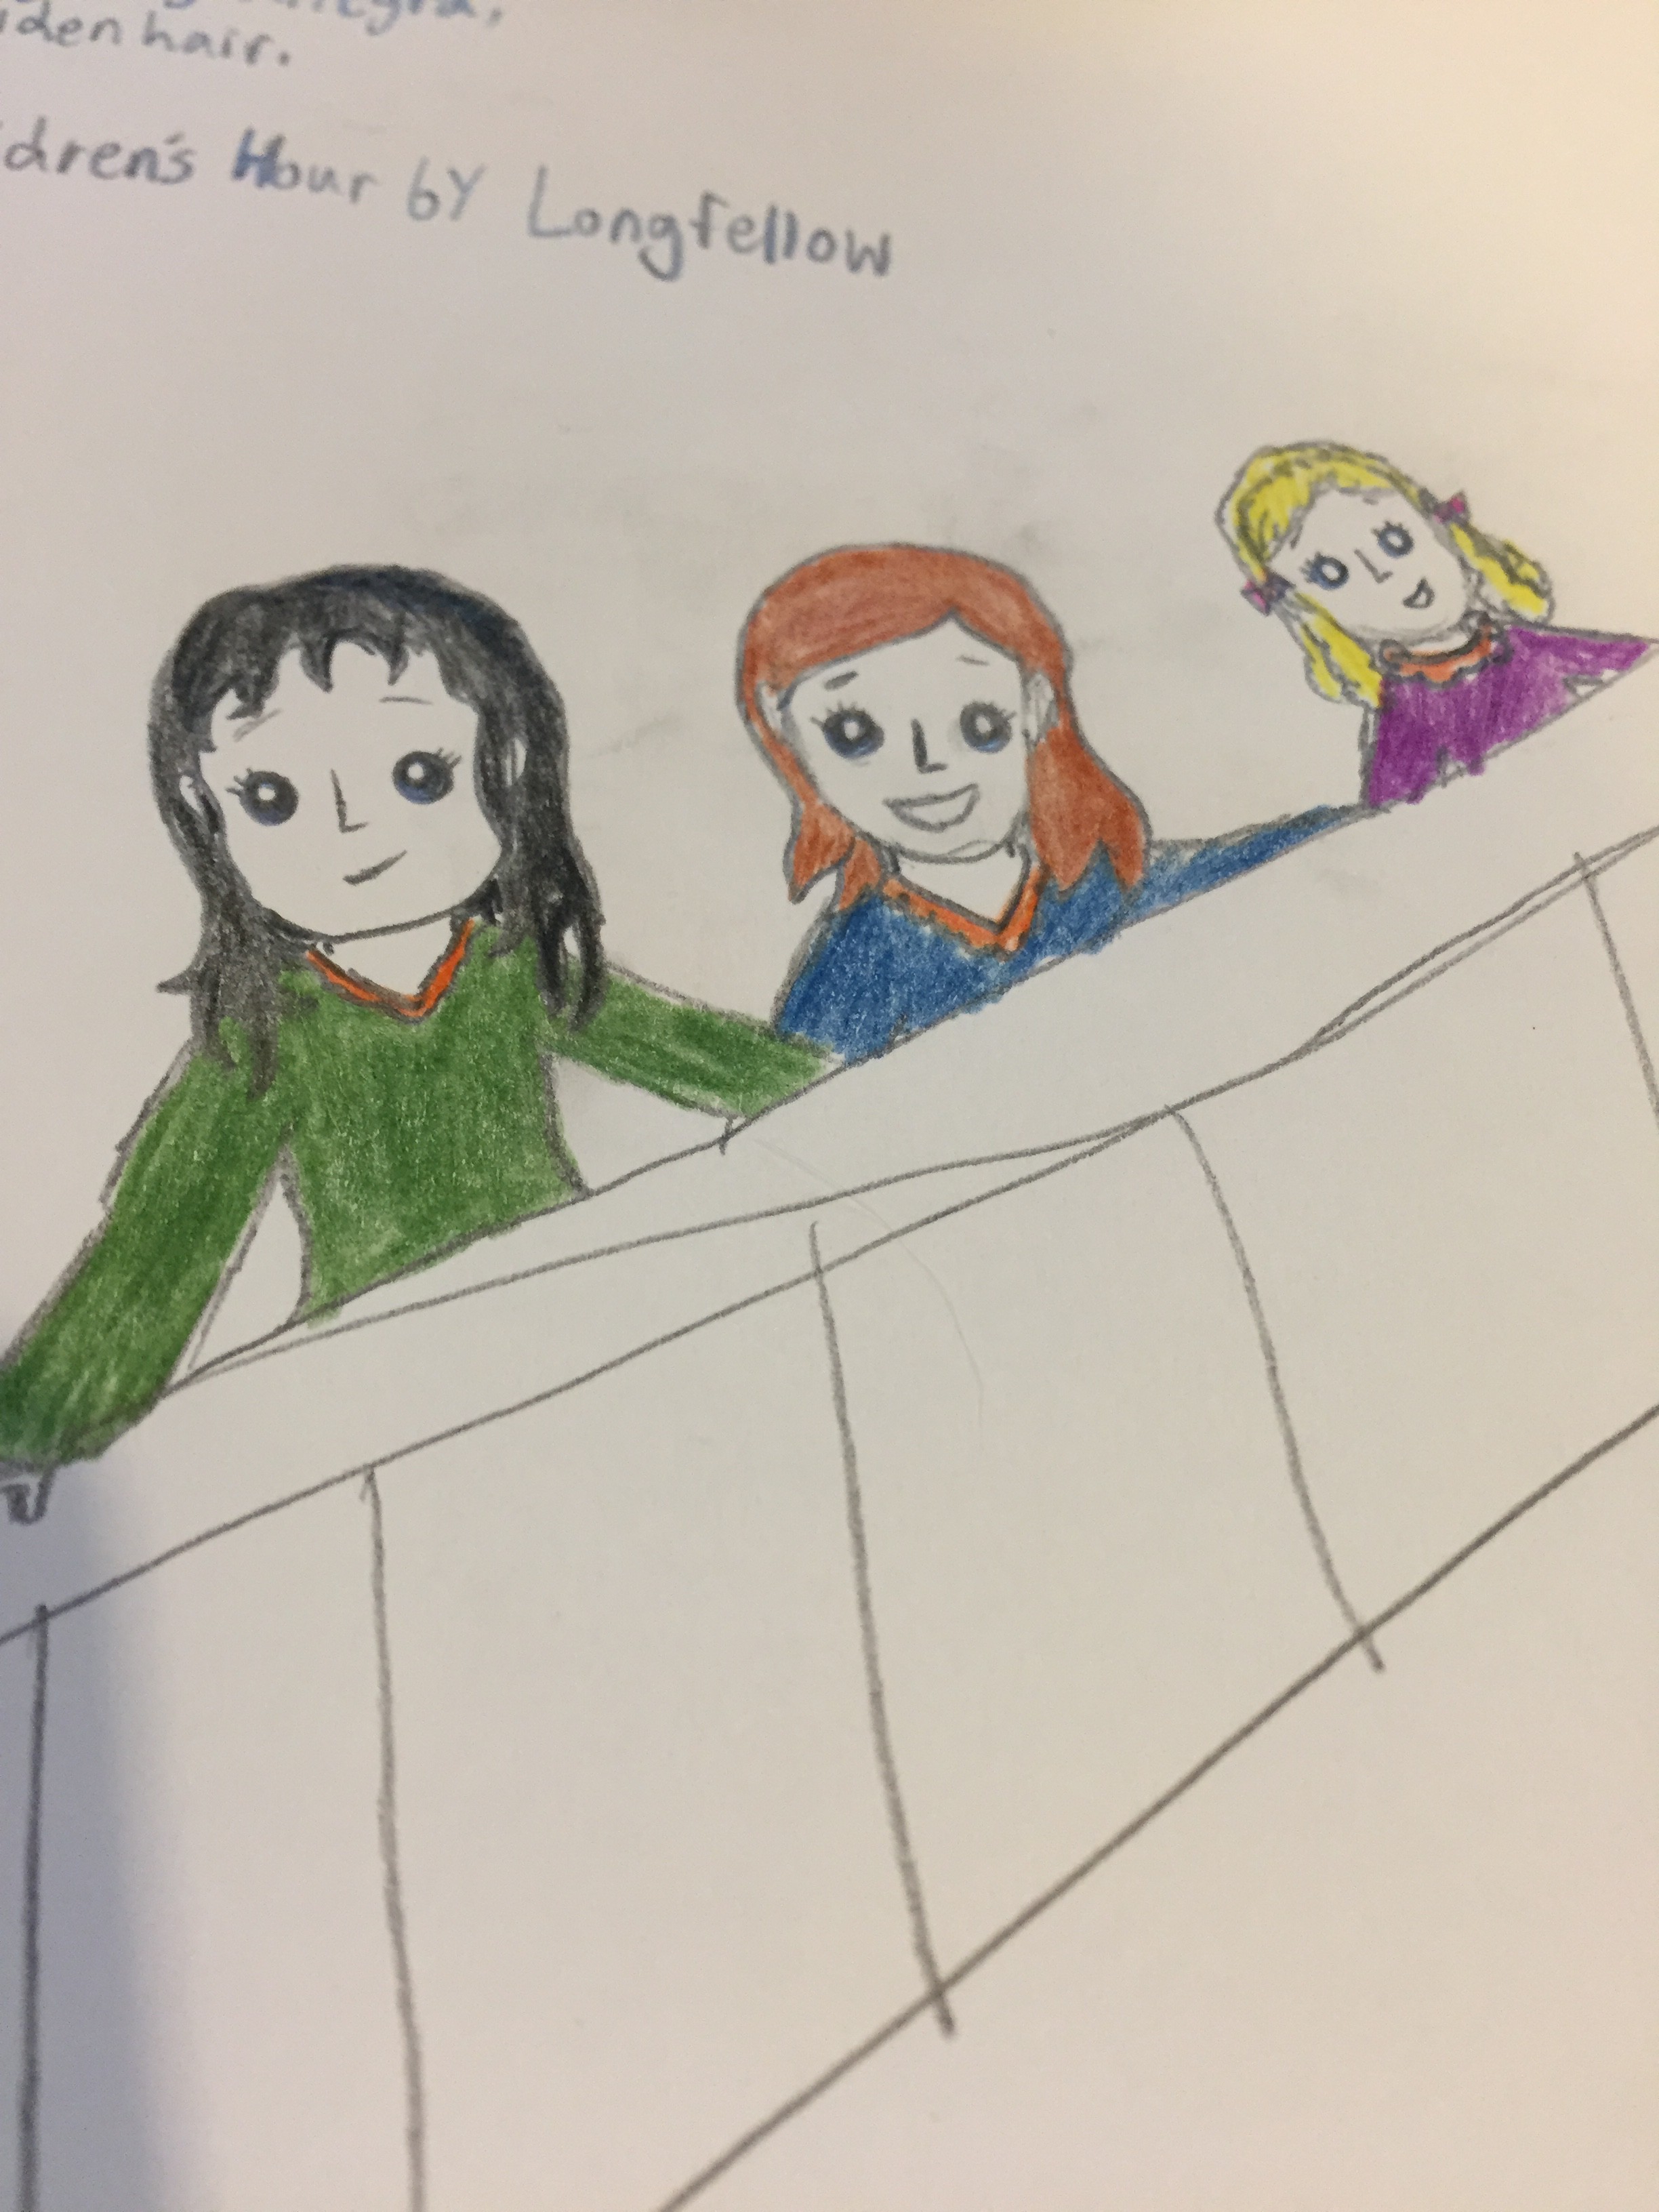
Step Eight: Draw a scene. Now the kids and I talk about what images came to their minds as I read, what ideas they thought of, what pictures they saw in their minds. I encourage them to say a favorite bit out loud. I require them to choose a scene to draw and to verbalize to me what they have chosen. This saves me from having one child who waits until everyone is done and then says “I have no idea what to draw”. I guide them through their ideas and then they begin to draw.
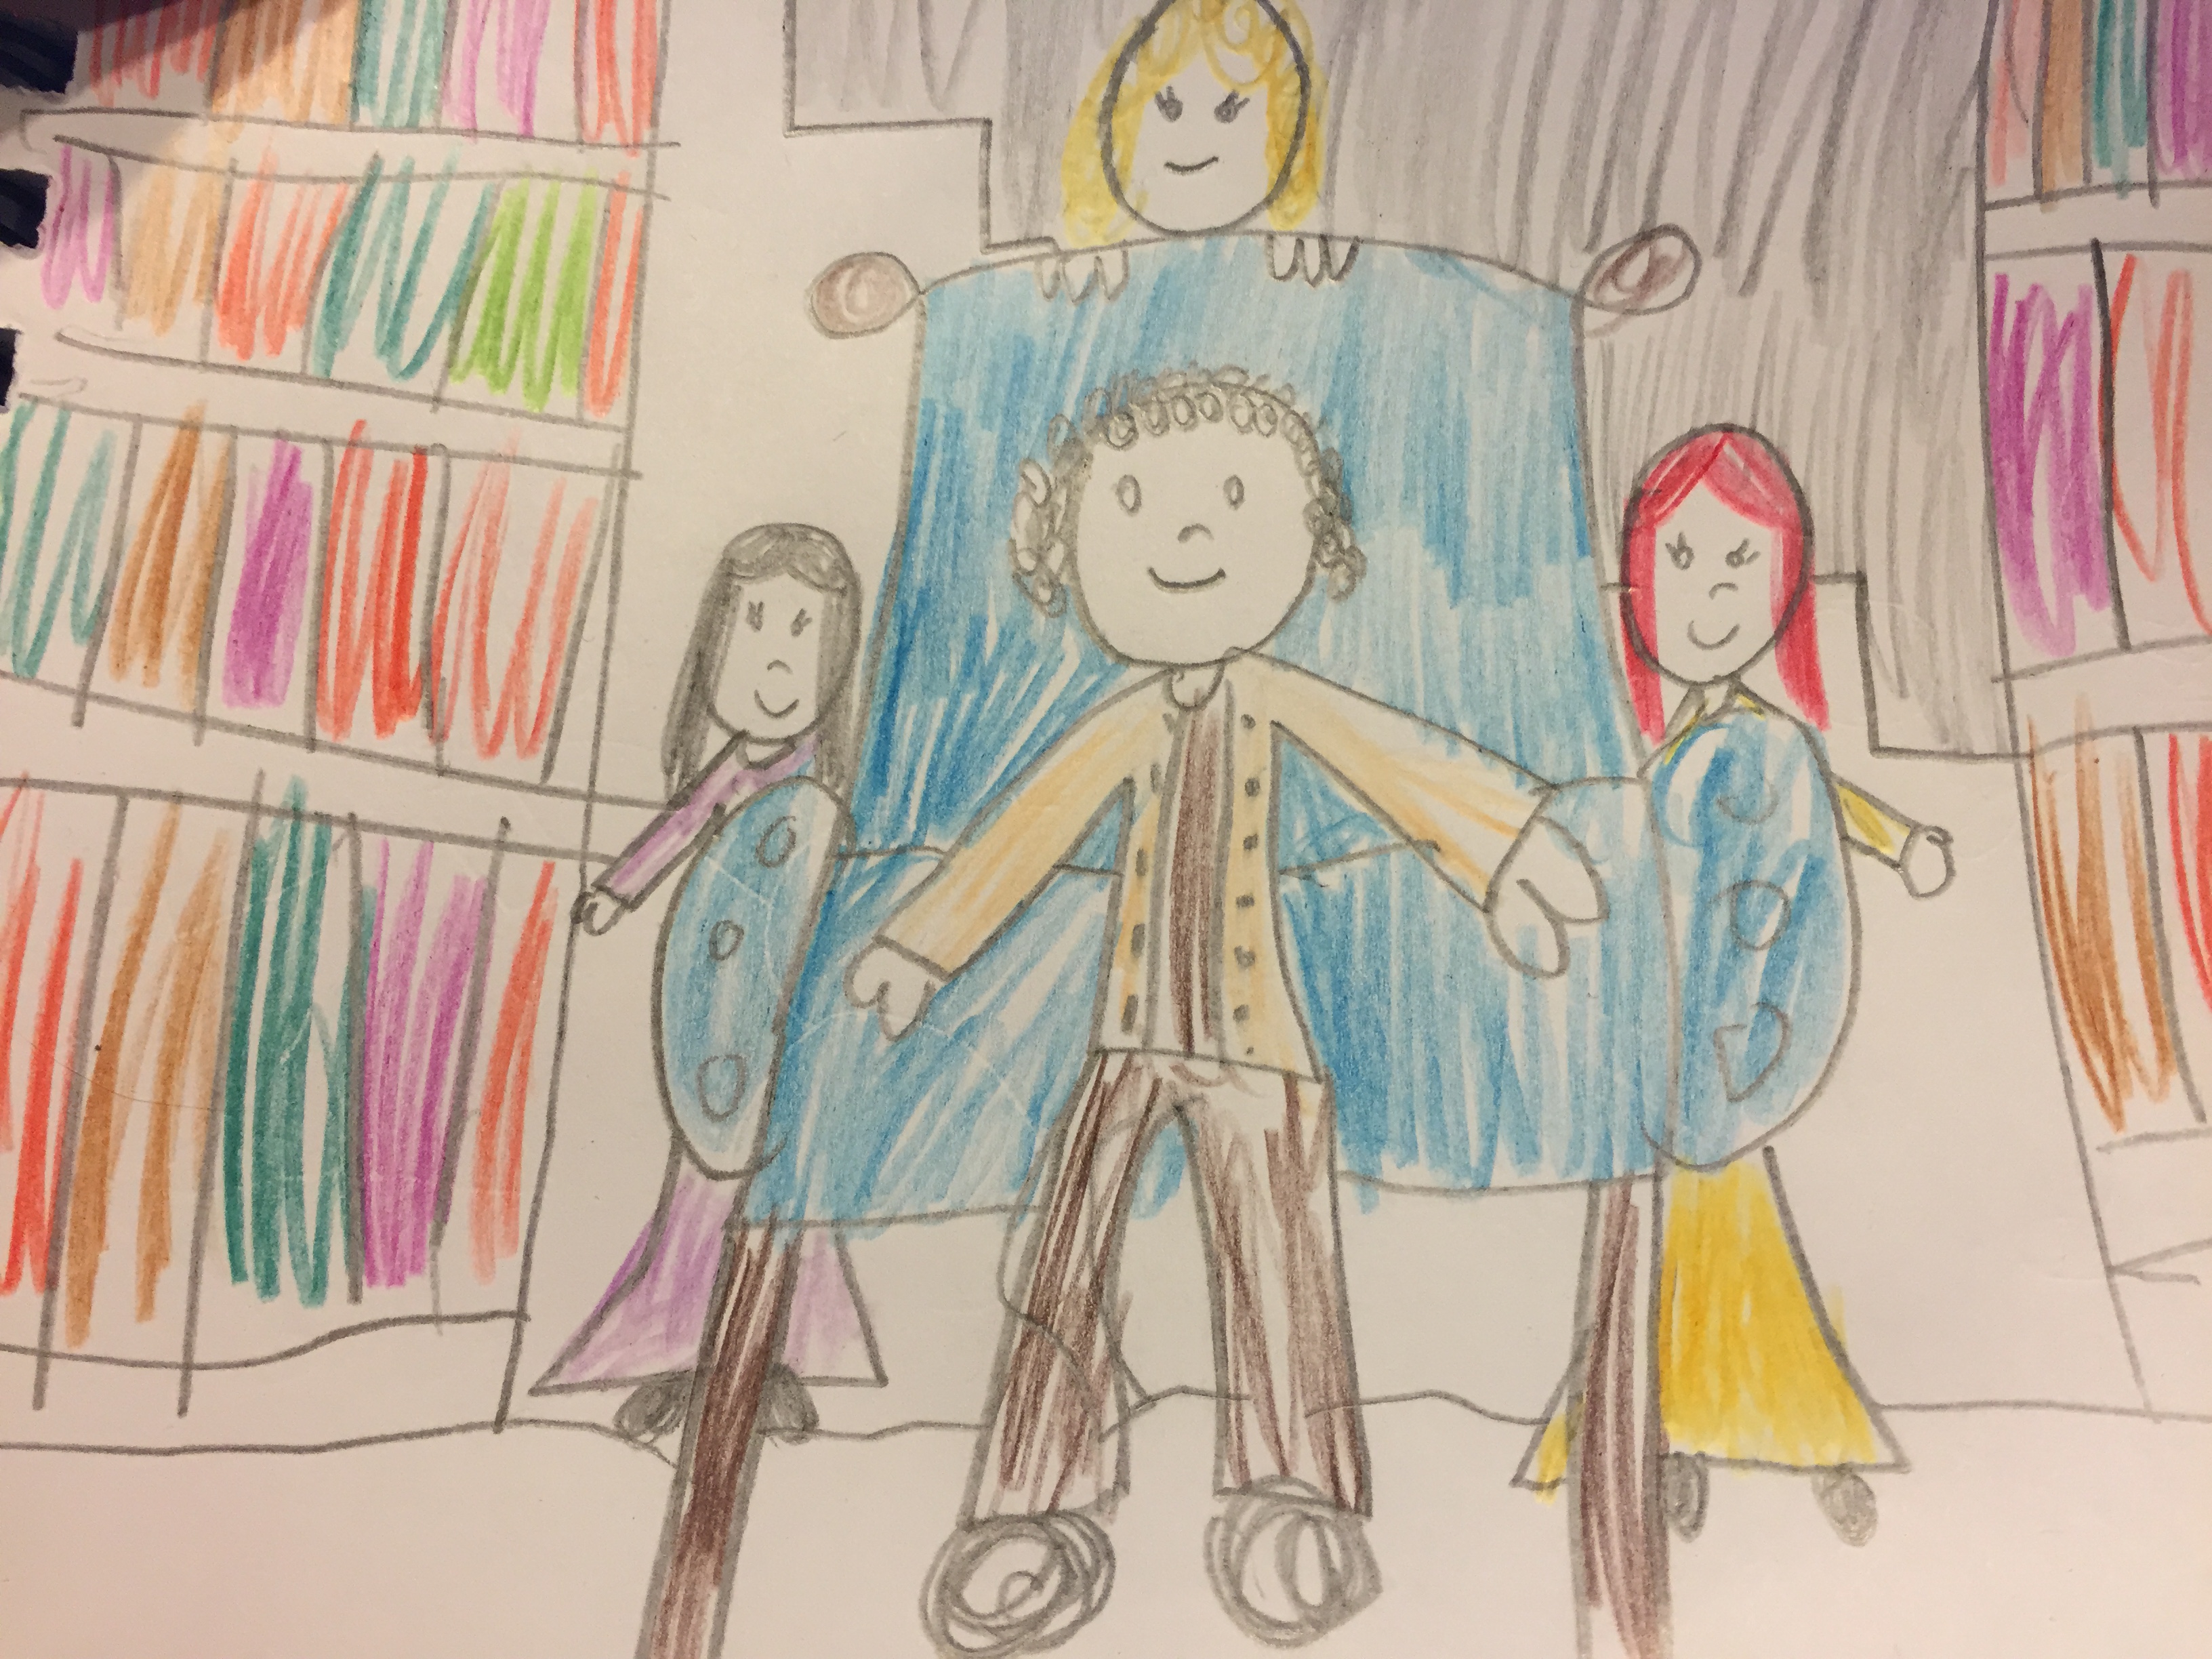
Step Nine: Read the poem again. I tell the kids I want them to quietly draw while I reread the poem. Depending on the poem and the kids, I might reread a poem three or four times. You might feel a little silly doing this, but just go with it. It is really so helpful. Your listeners’ hands are distracted while drawing and they may pick up new bits and pieces as they listen in this manner. It also forms a stronger impression on their minds as they hear the words repeated.
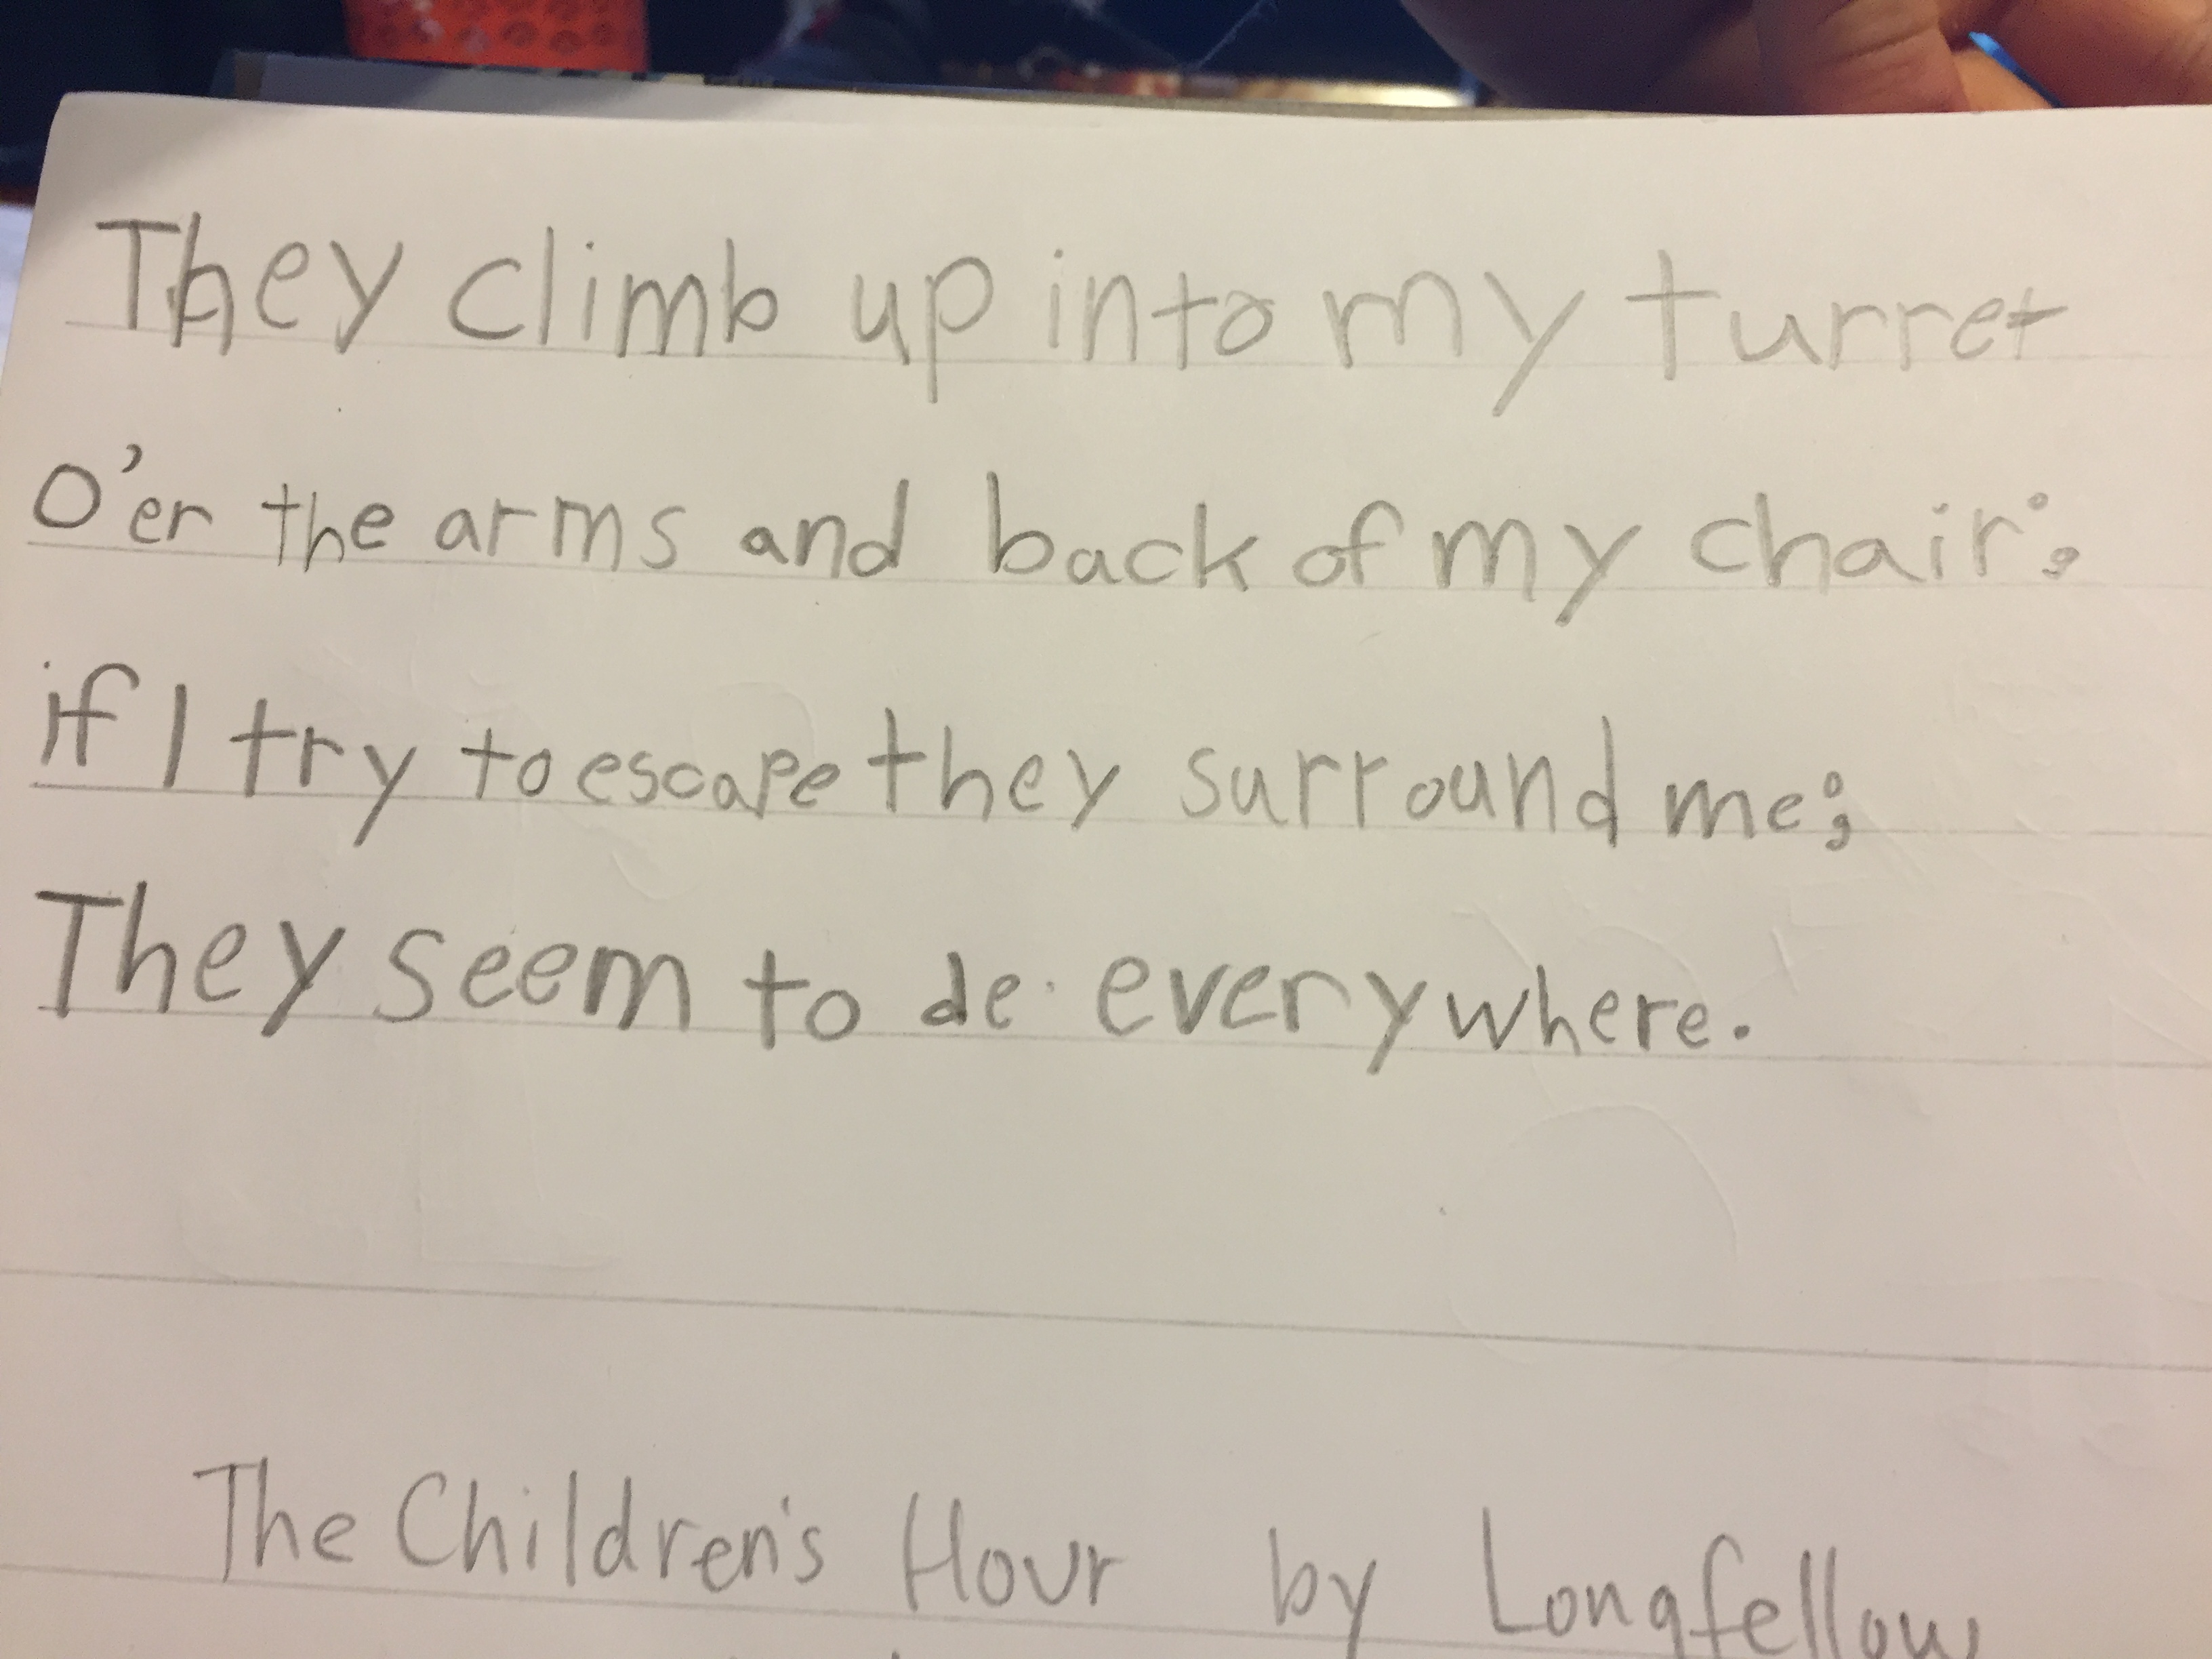
For my older students, I often require them to write a stanza from the poem on their drawings when they have finished. Sometimes the younger kids do this too.
——–
This sounds long and involved. I promise it is not. I wanted to be very detailed because this is the sort of information I wish someone had given to me early on – I like step by step instructions. Once you’ve done this – it’ll be natural and easy. The whole process is less than an hour – and you dictate much of that time depending on what you have available.
(Let me know, as a homeschooler – or a parent wanting to introduce your kids to poetry – if this tutorial was helpful. I’d love to consider routinely offering more guides like this if you guys are interested. Feel free to suggest topics you’d like to see covered.)
One Comment
Jessica
This is very helpful. It is actually something I am considering doing over the summer months.